Unlocking Website Insights: A Simple Guide to Setting Up Your GTM Account and Installing the Script

To commence the process, we recommend initiating the creation of a Google Tag Manager (GTM) account. Please visit the official website of Google Tag Manager.
Step 1. If you are currently logged into a Gmail account, you will be seamlessly authenticated into GTM. If you don’t have a gmail account, we advise to create a gmail account and login to your preferred browser before accessing the official website of Google Tag Manager.

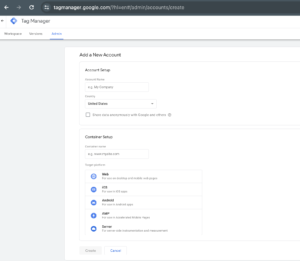
Step 2. After logging in, the next step is to create a GTM account. Simply click on the “Create Account” button.

Step 3. Complete the necessary information in the form fields during the GTM account creation. It’s worth noting that within the same GTM account, you have the flexibility to manage multiple containers.

Choose the appropriate option for your target platform:
- For a website, choose Web.
- For mobile applications, select iOS or Android based on the platform.
- If you are setting up a server-side container, choose Server.
After making your selection, click on Create. You’ll then be prompted to accept the terms and conditions. Once you’ve completed this step, your GTM account is ready for use.
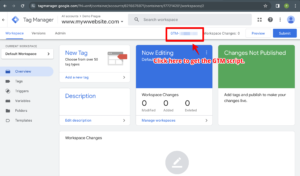
Step 4. To proceed, you’ll need the GTM script to put on your website. Simply click on the GTM ID link in the header section of the respective GTM container. Once you click on the GTM container, a pop-up with two scripts will appear.


Step 5. To start, place the first script right below the <head> tag in the header of your website.

Step 6. The 2nd script will go just below the body tag:

After adding the GTM script to your website, it doesn’t automatically start storing data in analytics platforms like GA4, Google Adwords, Meta, etc.
To begin collecting data, you’ll need to set up configuration tags for the specific analytics and storage platforms. This allows GTM to send the tracked data to these platforms.
If you like video guides, here it is:


